
New article
Recently updated
Creating a Claims-Based Web Application

Who is this article for?OnePlace Administrators.
Central Administration access is required.
This guide gives instructions on creating a Claims-Based Web Application. This introduction sets the stage for a step-by-step walkthrough, ensuring an effective configuration process.
1. Creating a Claims-Based Web Application
Secure Sockets Layer (SSL) configured for the Default Zone is a requirement for web applications that are deployed in scenarios that support server-to-server authentication and app authentication.
As a prerequisite for configuring Site Mailboxes, the computer that is running SharePoint Server must have SSL configured.
For full details please refer to the following article: Create claims-based web applications in SharePoint 2013
2. Creating an SSL Web Application
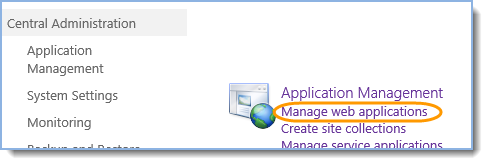
- Central Administration – Application Management – Manage web applications:
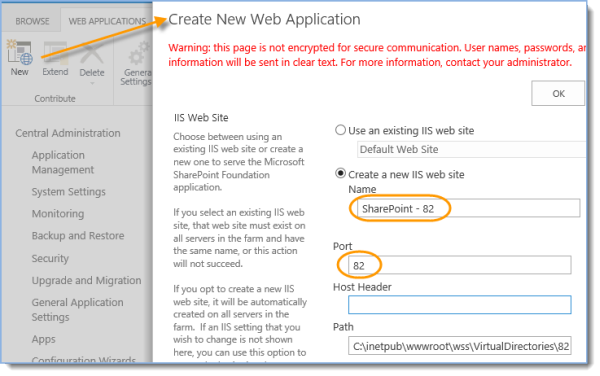
- Click “New”, provide a name and select a port:
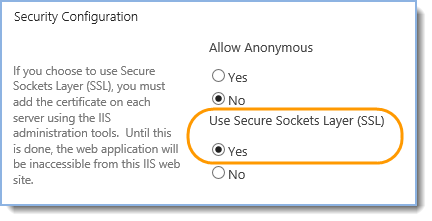
- Change SSL option to “Yes”:
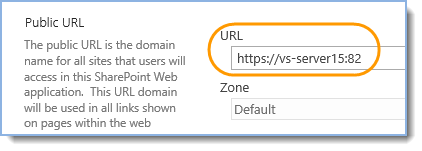
- Verify public URL contains https and port number:
- Leave other web application settings as is and click OK at the bottom of the page.
3. Create Root Site Collection
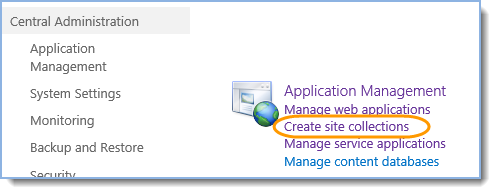
- Central Administration – Application Management – Create site collections:
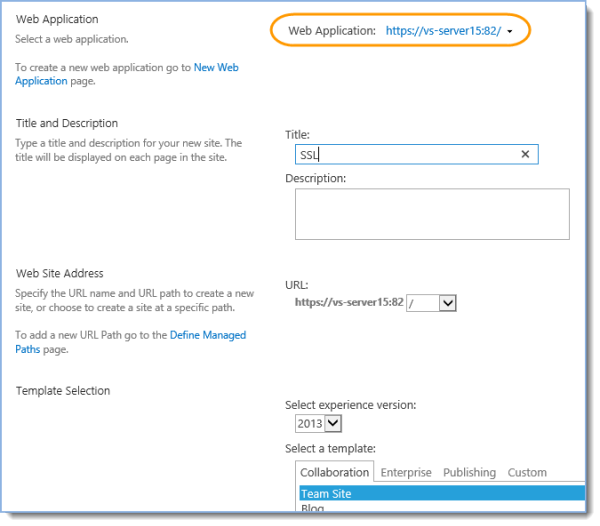
- Select web application from step 1 Creating an SSL web application, provide site collection name and select a template:
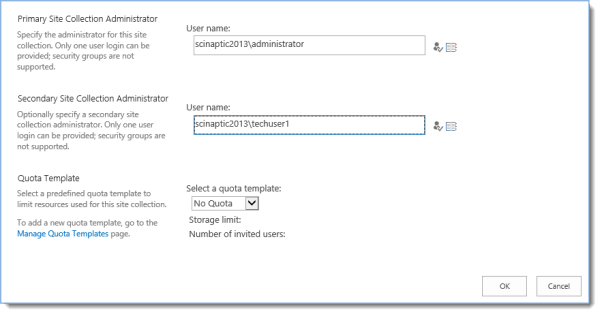
- Type site collection administrators’ logins and click OK.
Tip: Ready to move onto the next stage of setting up the environment for SharePoint Site Mailboxes? See Creating & Importing Server Certificates for more information.