New article
Recently updated
Automating email filing using a Save folder

Who is this article for?
Users wanting to automate email filing to Microsoft 365 locations using a save folder.
Ideagen Mail Manager Tracking & Automation licence is required.
This article shows you how to utilise Save folders which, combined with Outlook rules, automatically file incoming emails, saving you from having to do it yourself.
You can also choose to drag and drop emails into a save folder to have the email save to SharePoint.
1. Prerequisites
Below is a list of prerequisites that need to be met before you can set up email tracking.
| Requirement | Details |
|---|---|
| Configured or reconfigured email tracking |
Set up email tracking and conversation automation using a valid Azure subscription with access to Azure Marketplace. If you are using existing email tracking you will need to do the additional steps under "existing users" |
| Email tracking URL | Ensure you have a valid and active email tracking URL configured for your user account. |
2. Setting up a folder
To set up a Save folder:
- Go to Outlook.
- Select any email.
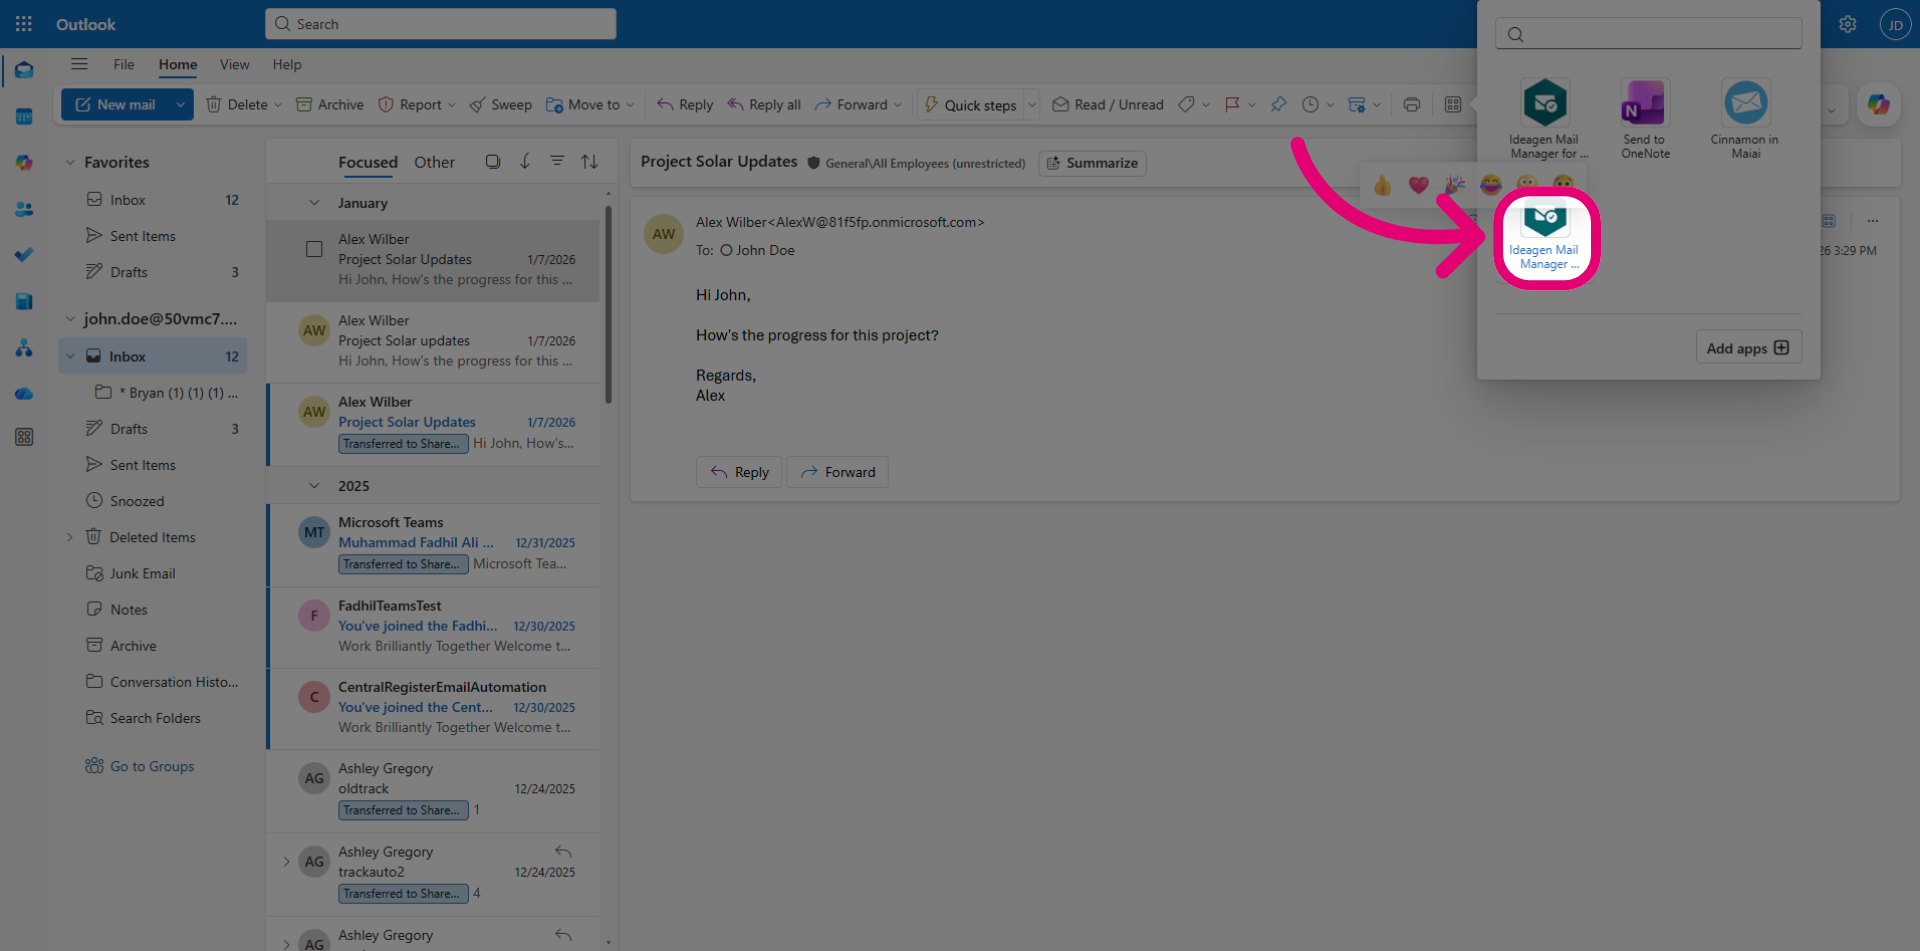
- Open the Ideagen Mail Manager add-in.
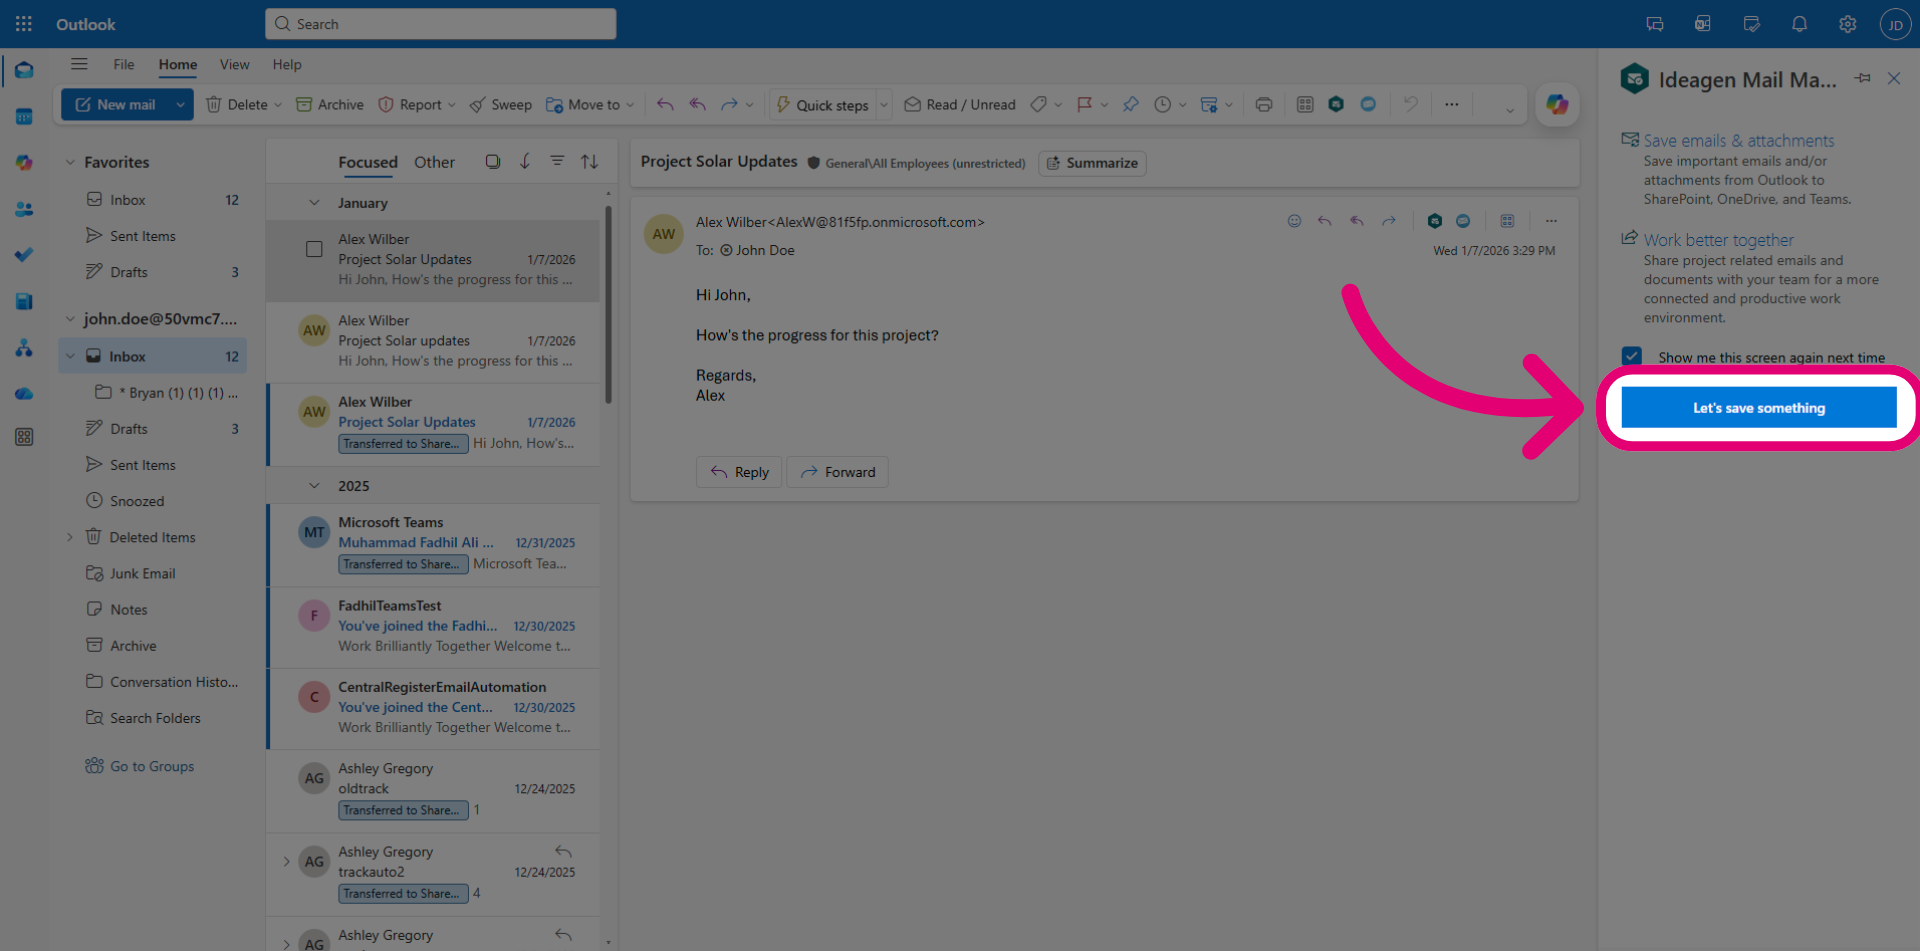
- Click Let's save something.
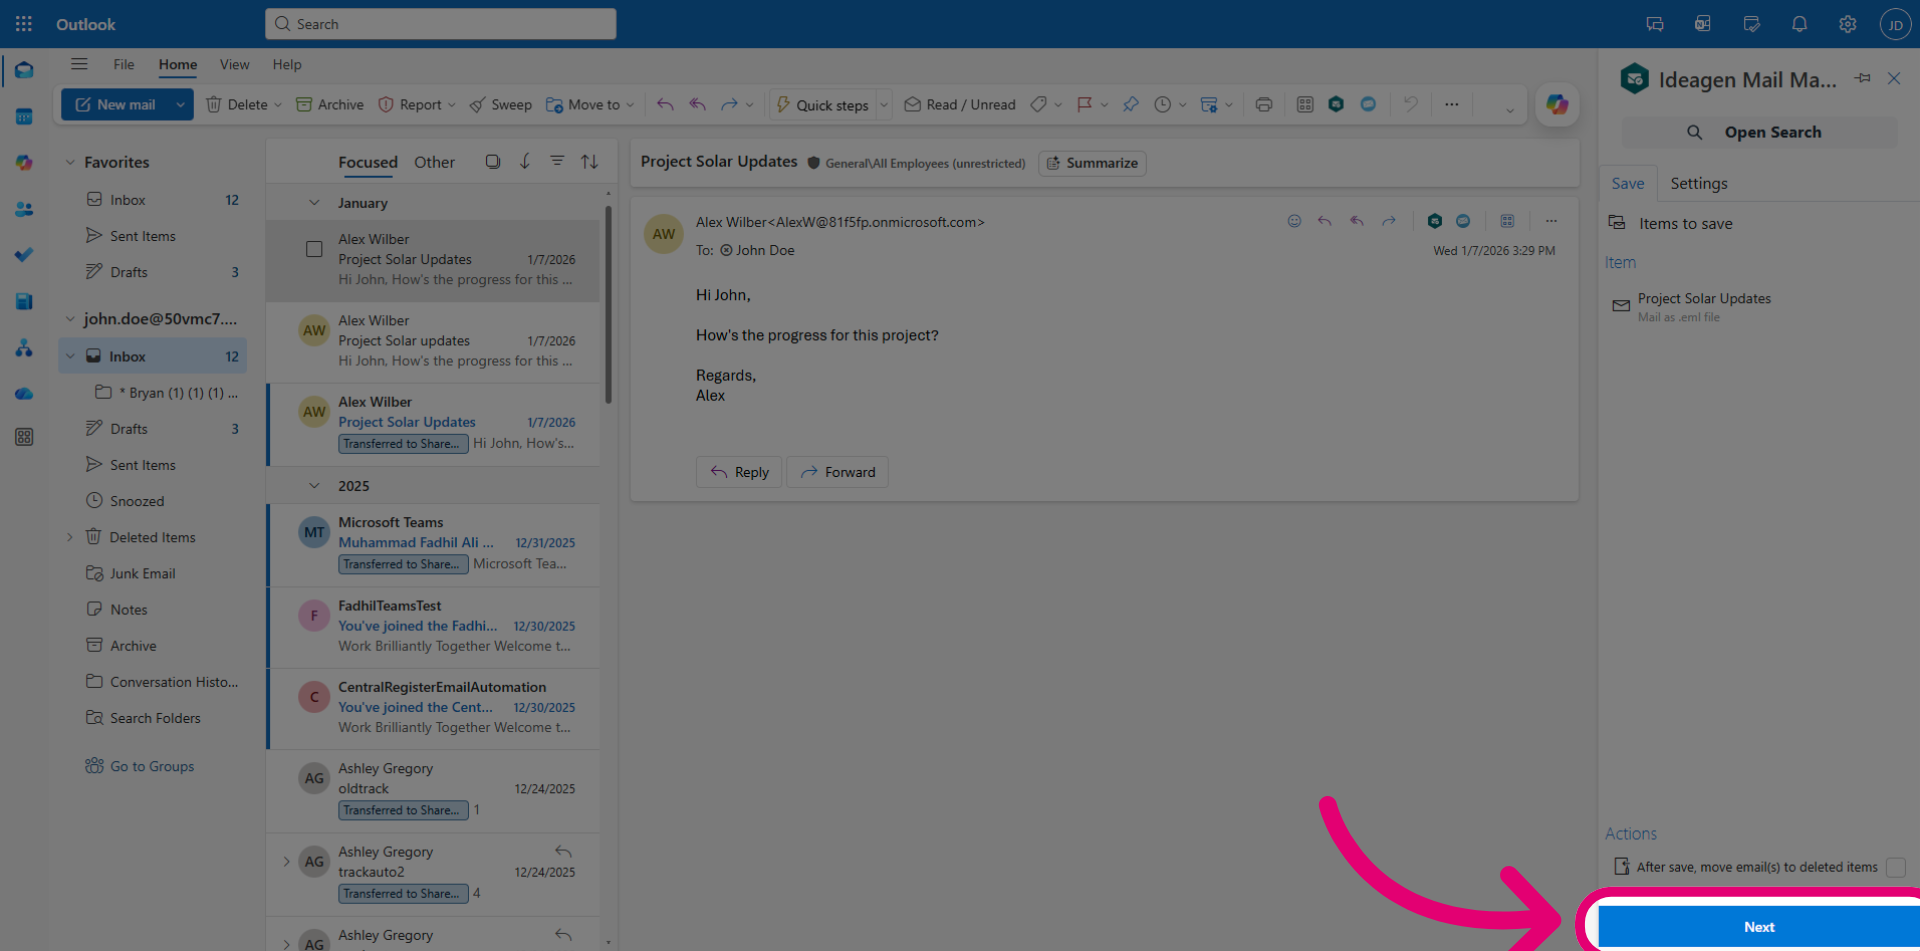
- Click Next.
- Open the location you want to create a Save folder in by clicking the ellipses.
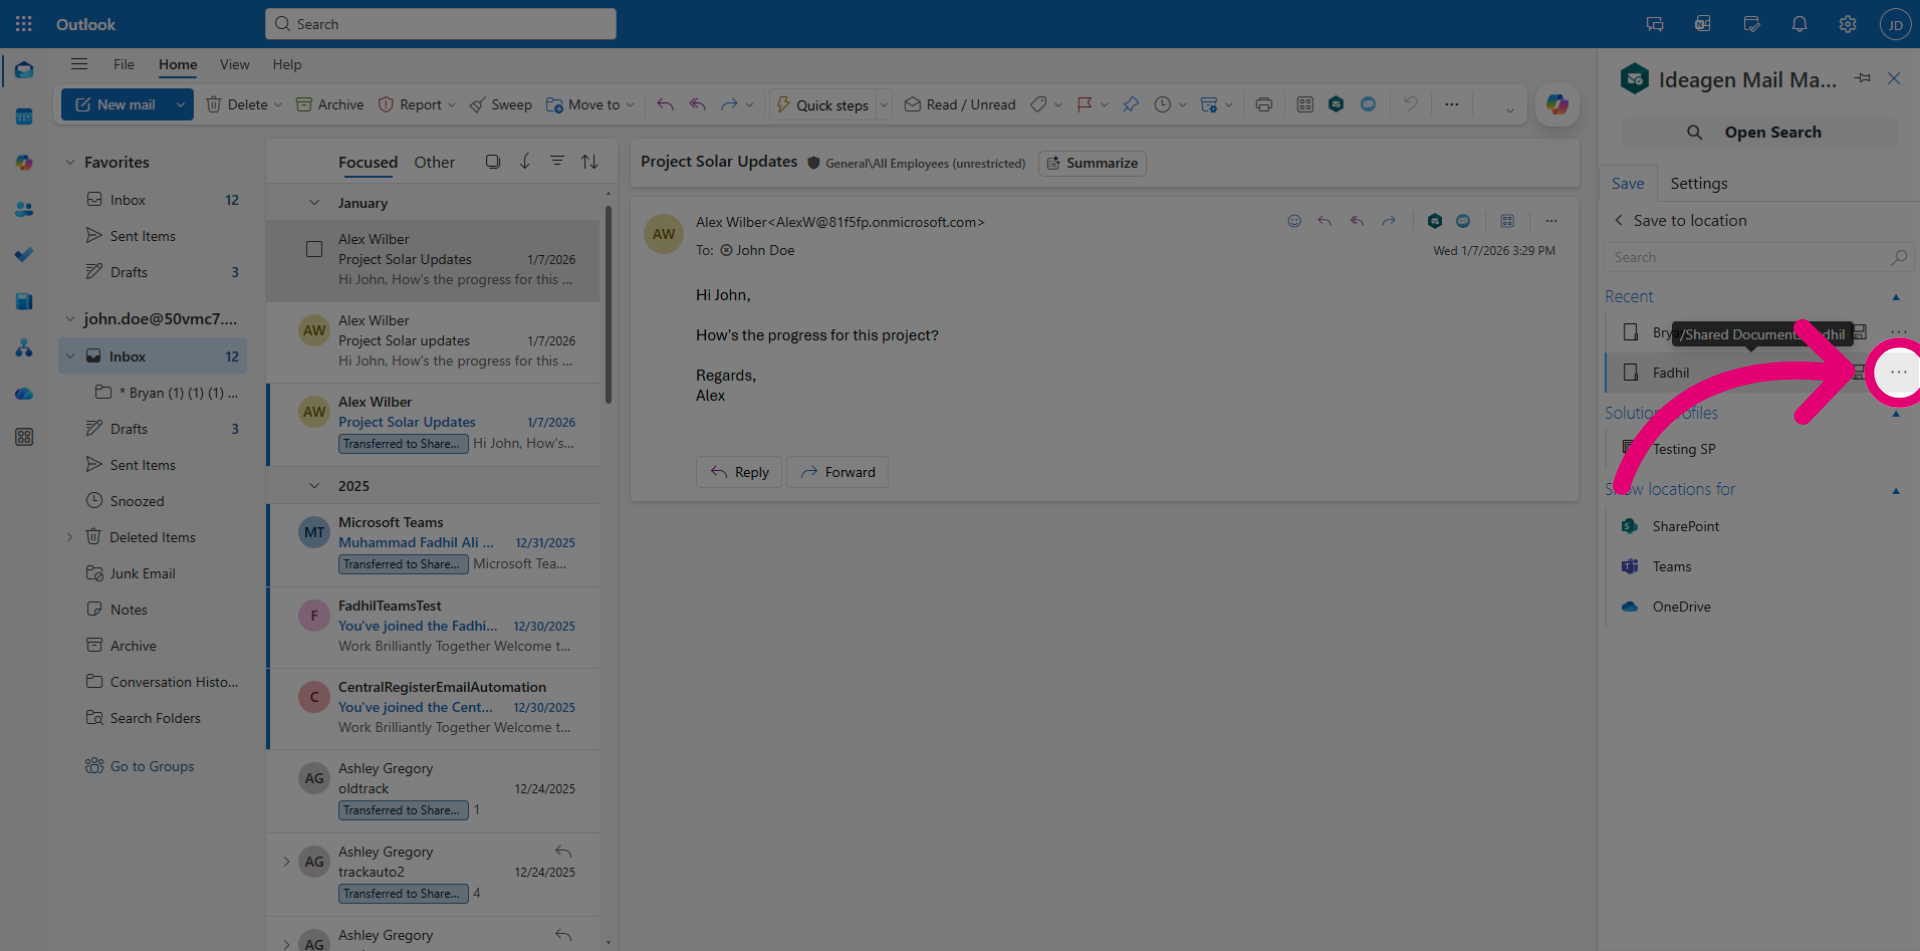
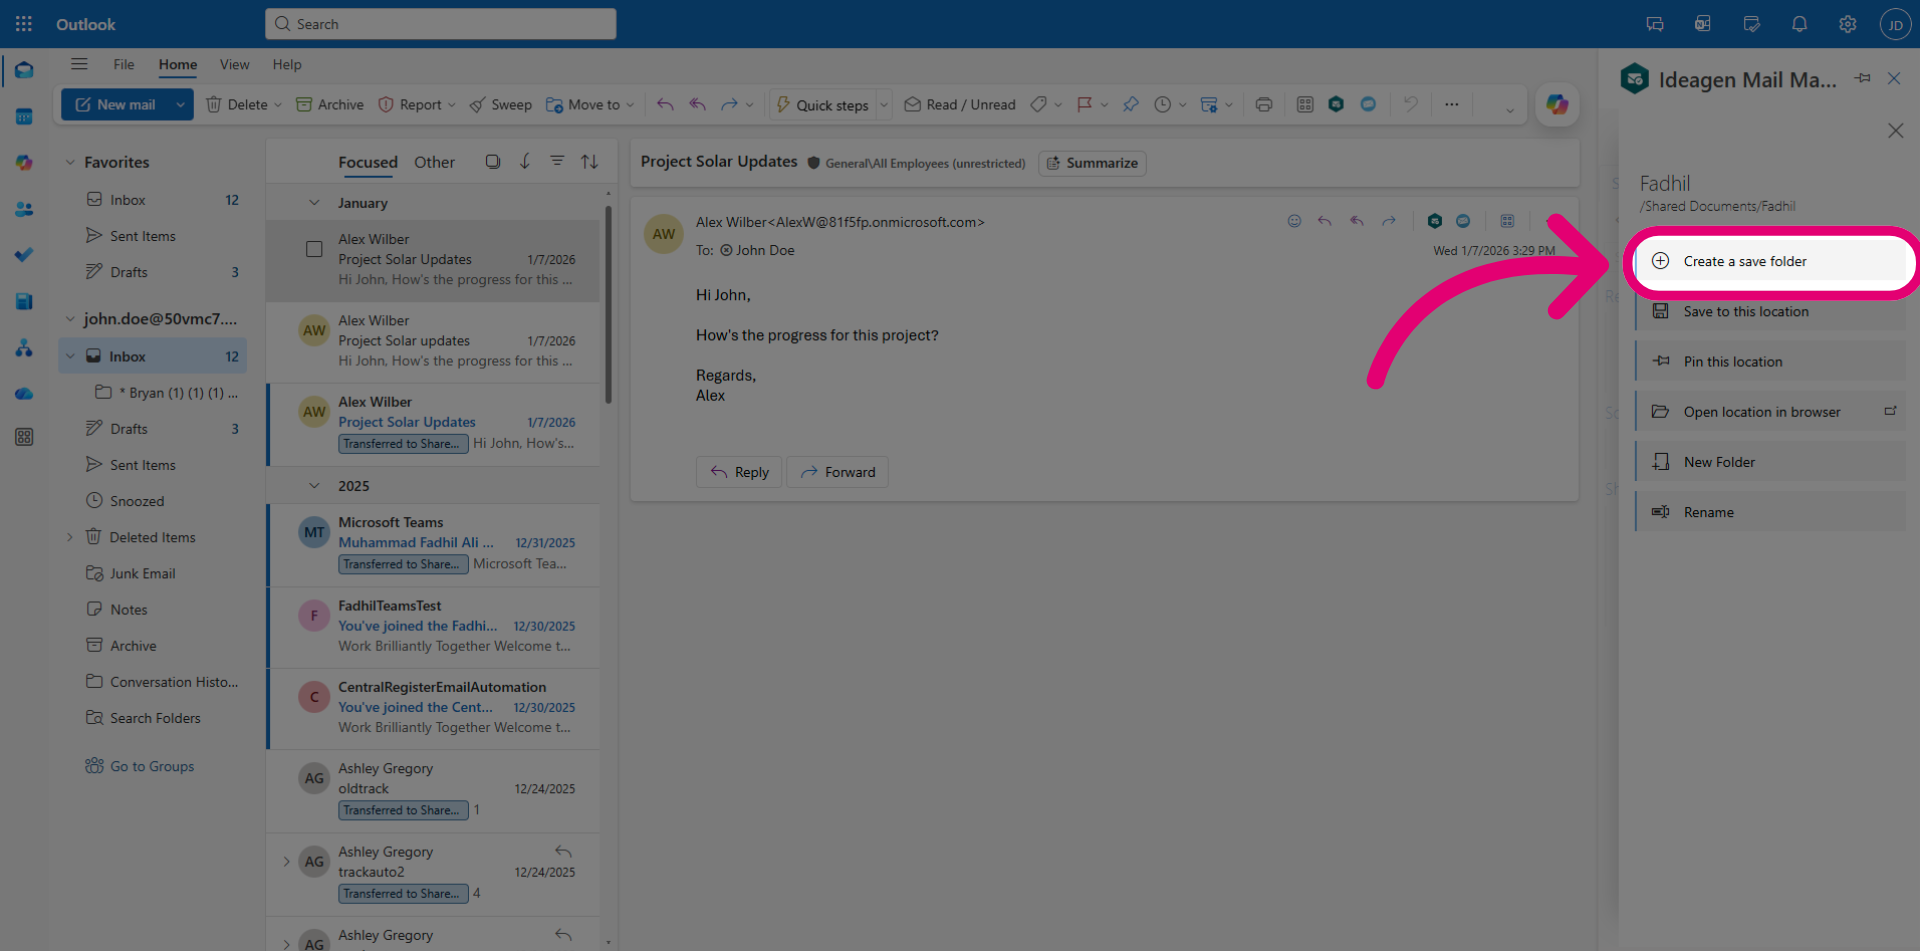
- Click Create a save folder.
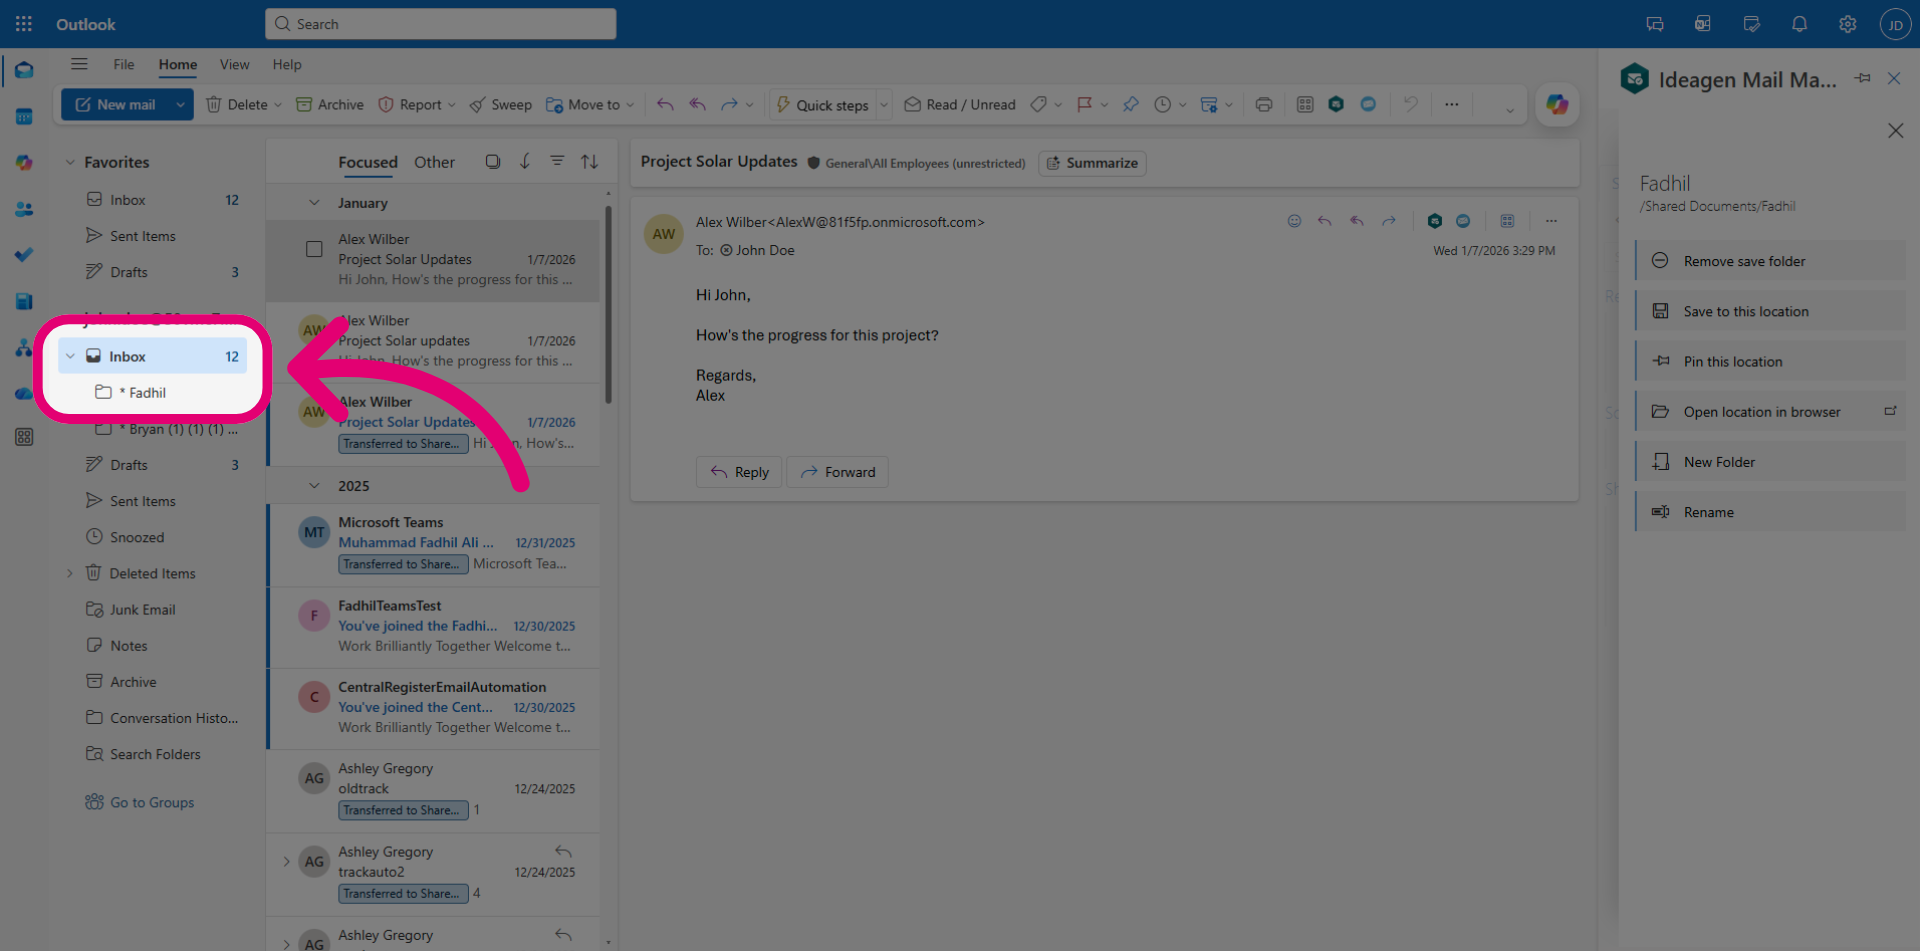
The save folder will appear as a sub-folder in your Outlook inbox, marked with an asterisk (*).
3. Creating a rule and dragging an email into the folder to save.
Create Outlook rules to automatically file emails into the save folder, which will in turn save them to the designated Microsoft 365 location.
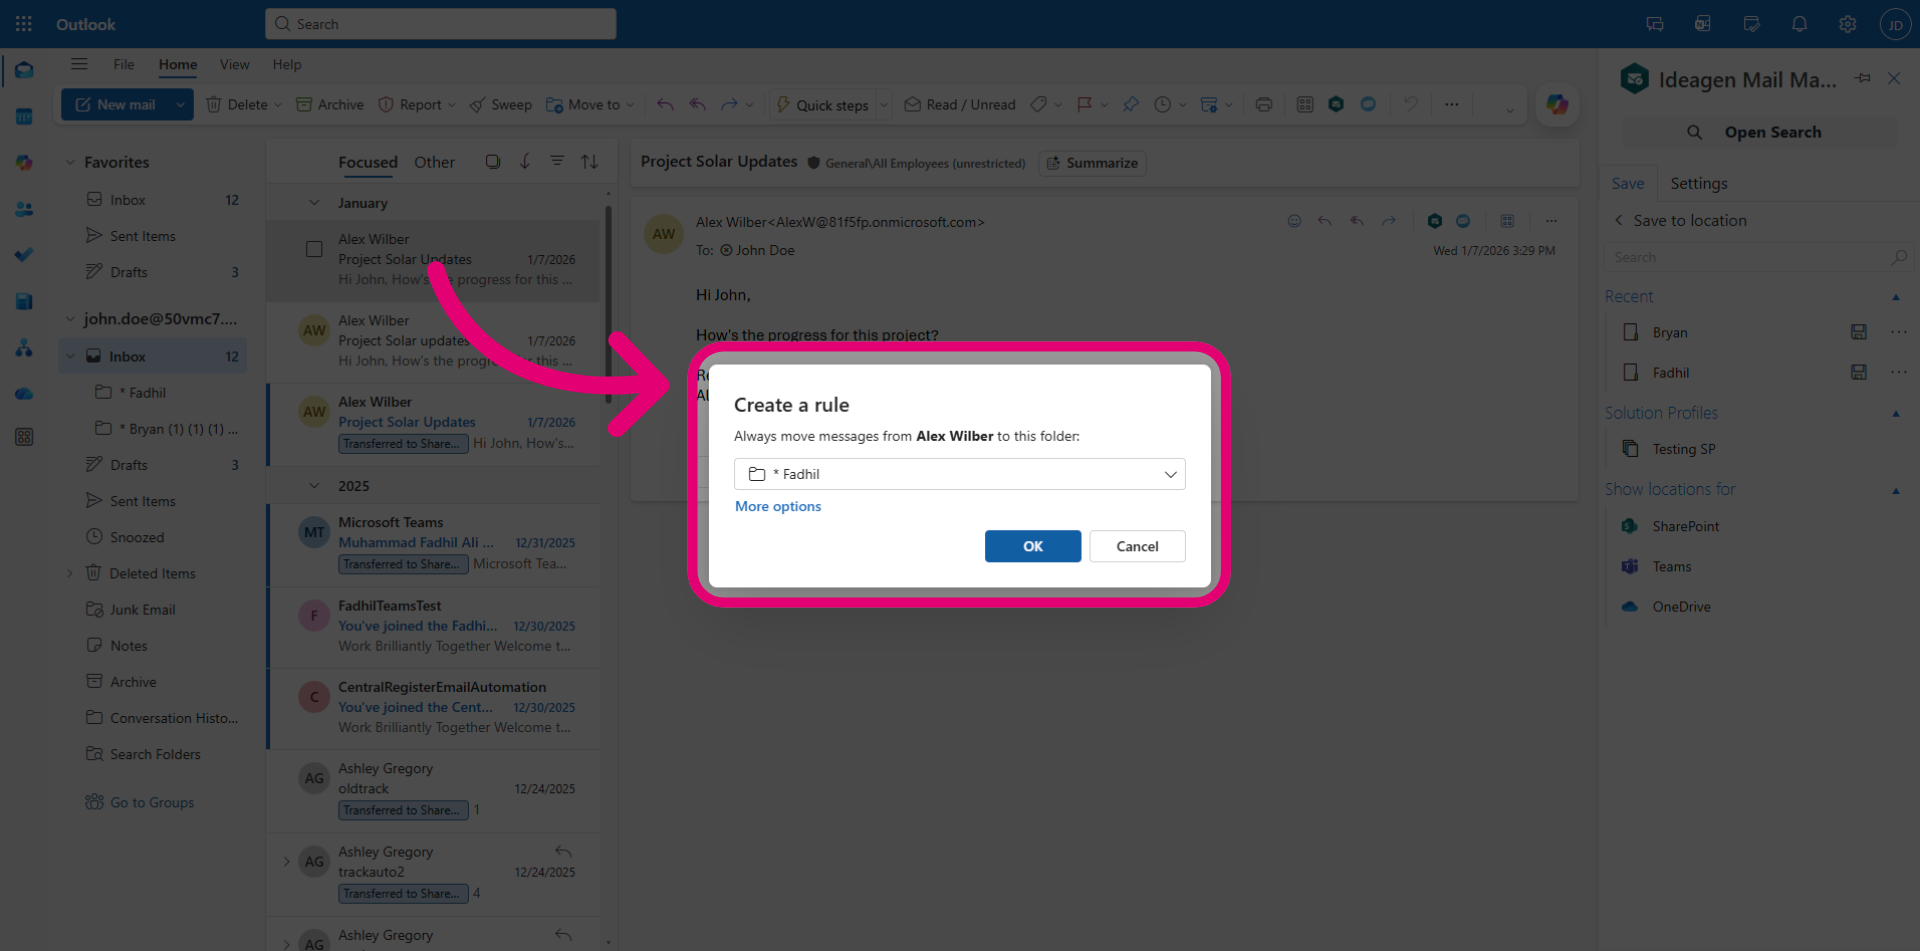
Or you can choose to drag existing emails into the save folder, then the email will get automatically saved to the respective SharePoint location.
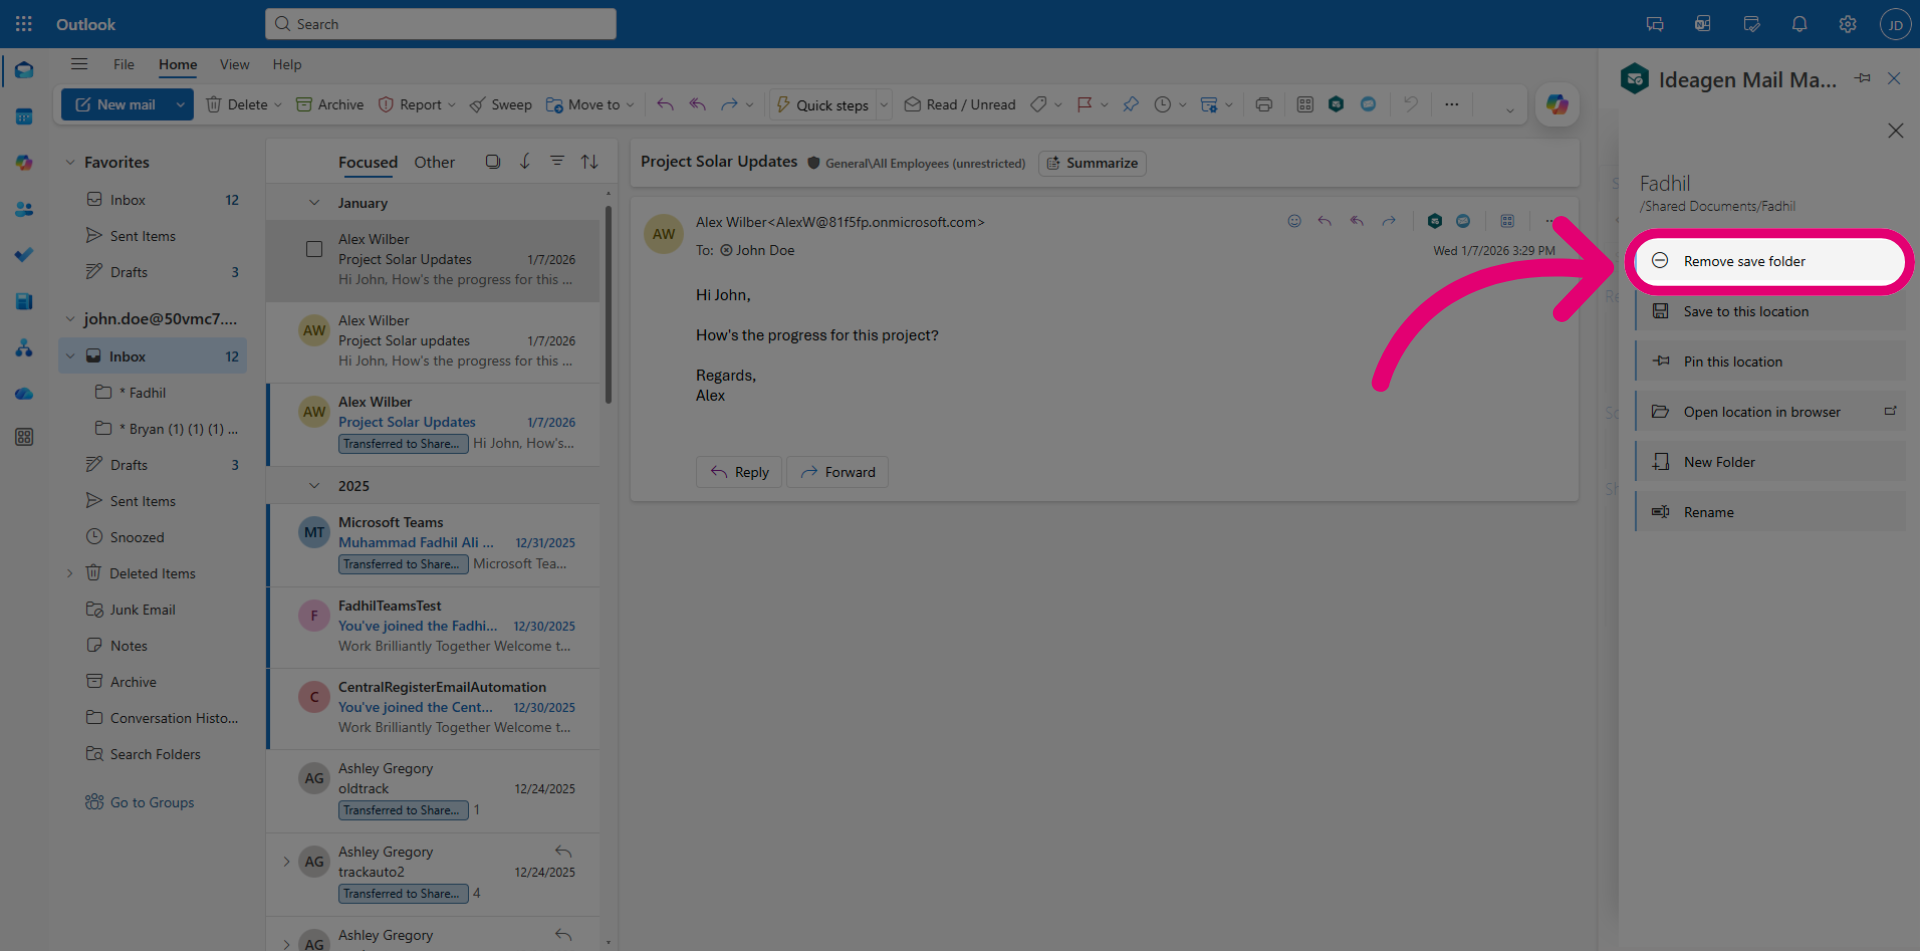
4. Removing a folder
To remove the folder, navigate to the same Microsoft 365 location and click Remove save folder.
Alternatively, you can delete it directly from your Outlook inbox.